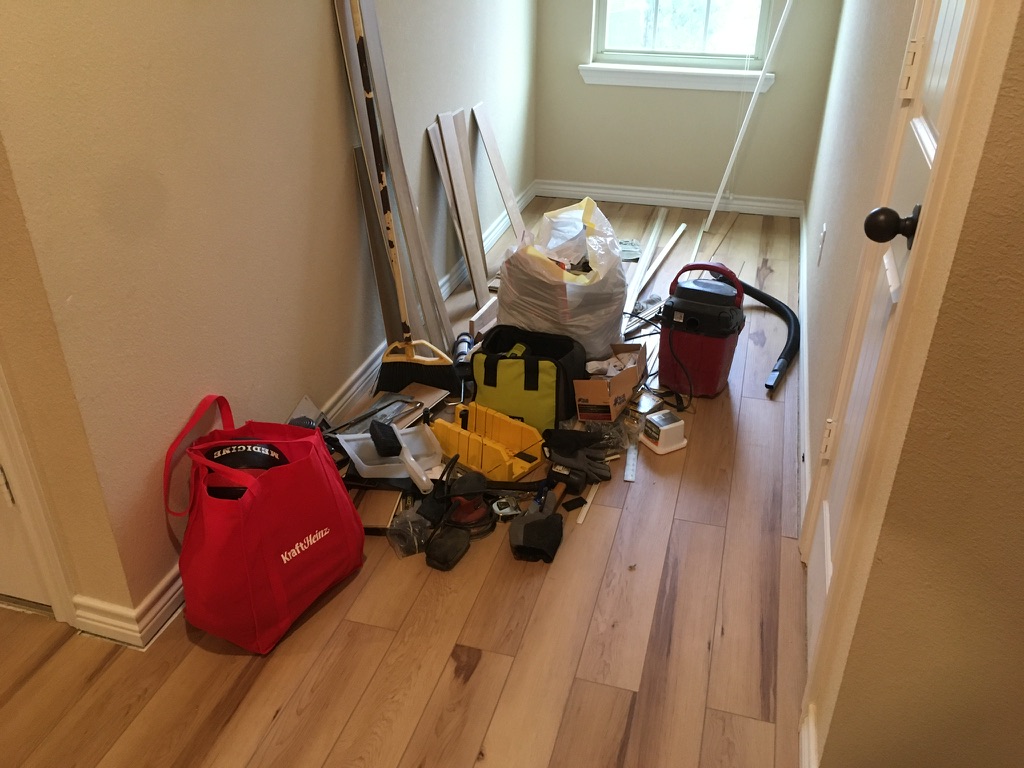
DIY Garage Door Opener - Genie 2024 Belt Drive Replacement with a Genie 4024 8 foot expansion kit

So.. everything says "Discontinued." You go to order a part for this 8 yr old consumer grade Genie garage door opener, and noooobody sells it anymore. I took a gander, ordered a Genie 4024 (that's two thousand improvements later so it's 1000 times better!) belt drive repair kit and found, indeed, it's incompatible.
But not so fast! The belt looks identical! Just a little short by about 6 inches, because while they're both 7ft door belts, they have different carriage/bullet/end pieces:

Ok this encouraged (and intrigued) me. I found and ordered an 8 ft belt drive expansion kit for a Genie 4024 with the intention of cannibalizing just the belt, and I called local Genie certified folks to both run my plan by them and also see if they could sell some length of only the belt by the foot/yard: No, they don't sell it by the foot, but they didn't see why the idea wouldn't work. I also called Genie customer support, and they said about the same thing.
Well, my belt kit arrived, and I went to work:
 |
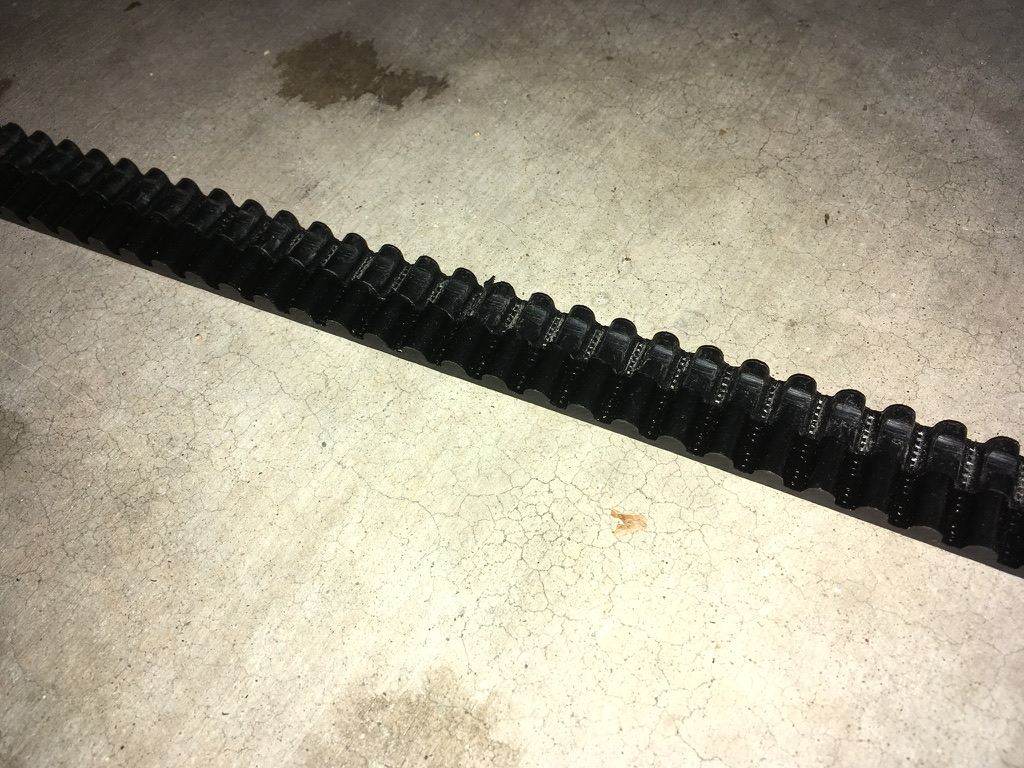
| See how the old belt has some deep groove wear patterns. |
Rather than measuring (and potentially lousing up the job), I lined up the old and the new side-by-side, tying the matched ends with a twist-tie, and moved my way up the belts, anchoring them in place about every few feet with my foot to keep the slightly stretched and rigid old belt in alignment with the fresh and flexible new one over distance: I wanted it to match notch for notch for greatest chance of success.


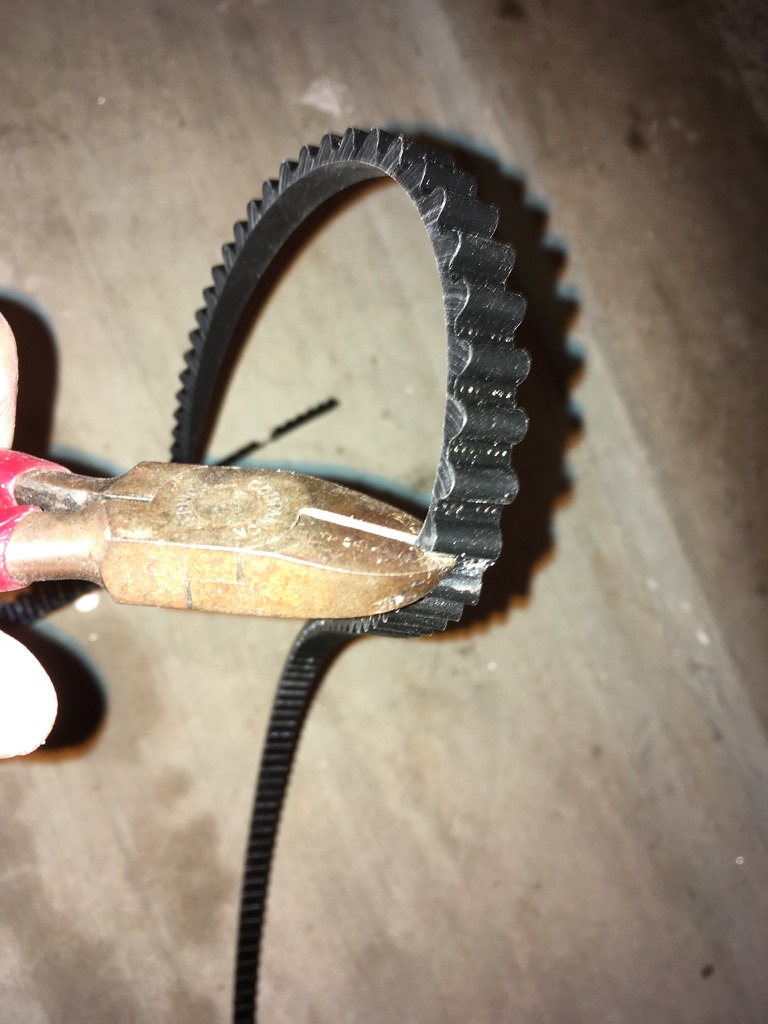
The hardest part of this job turned out to be trimming the extra length from the new belt, because it is some hardy, steel-reenforced rubber. I tried clippers (wire snips), sheers, and, ultimately, the hacksaw did it:

  |
| See how snugly the new belt fits into the Genie 2024 bullet/carriage insert? |
 |
| Tightening the belt with the belt tightener.. what a breeze. I hope I didn't over-tighten. |
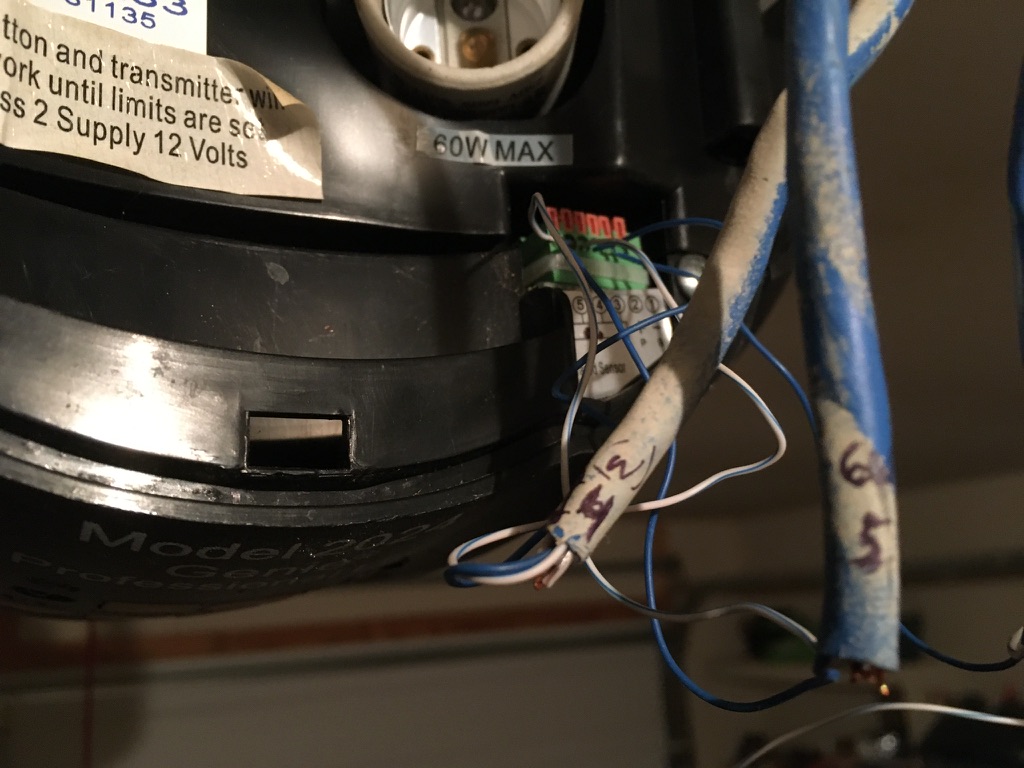 |
| I had smartly labeled the otherwise very ambiguous control wire sheaths at disassembly a week prior so plugging in the sensors and button would be easier. |
By the way, throughout this, I had referenced a similar but different video about replacing a belt on a garage door opener.
I raised the end part, raised the motor part, adjusted the up and down limit, et voila! What a breeze it turned to be, and I saved a bundle! The technician who came out ($35 service call) had recommended either replacing the Genie since it was consumer grade and "so old" for ~$330 parts and labor. But, o my savior, he said, I could instead get a more robust Liftmaster system (and he conveniently had two ready to install) for just $~600 or $700 depending on the model I wanted (chain or belt). Yes, on the floor, I panicked and considered these options, and what initially really made me not take the Liftmaster upgrade was that it had built-in wifi and some stupid app... . Really? ... Really.. I need to control my garage from the couch now? The whole proposal made me feel like .... a consumer ... so I asked to pay the service call and that I would more time to think about it. He sounded surprised like he didn't know what to do with that, so after calling his office, he offered one more option: If I were to buy the part (and it was not likely possible that I could find one), then they would install it for $120.
Boy, am I ever glad I went the cheap route: Learned some things, confirmed some things about business, and I scored non-offensive, genderless-traditionally-masculine-role points.


